

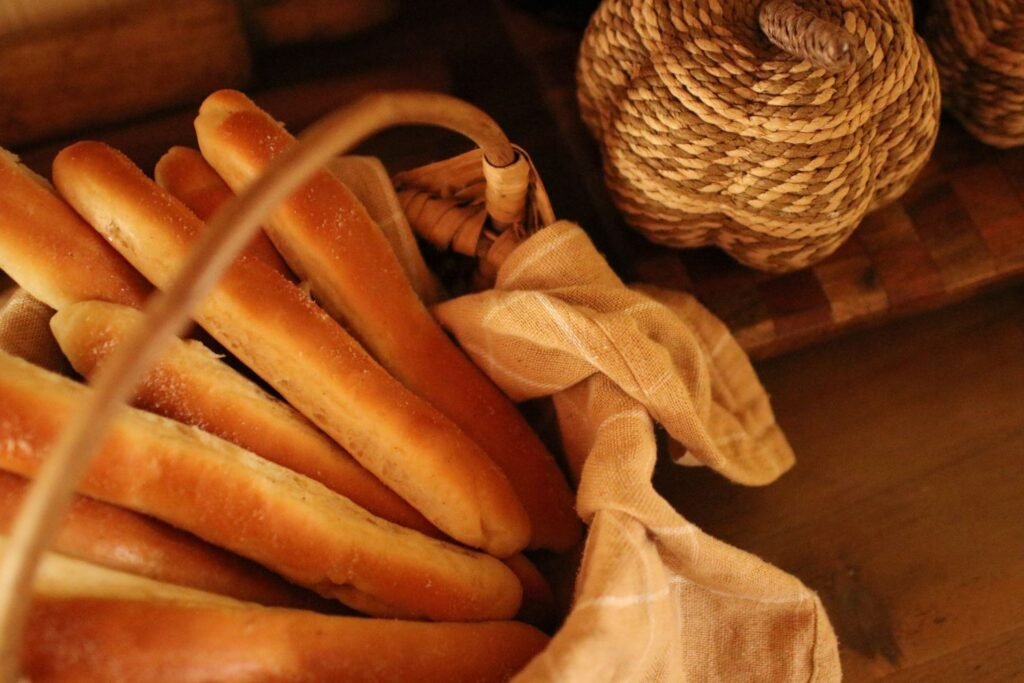
There are some things that are just better when you make them at home, and warm breadsticks are one of them. These are soft, fluffy, and lightly buttery, with just enough garlic and salt on top to make them hard to stop eating.
If you’ve ever loved the breadsticks at Olive Garden, this homemade version has that same soft, tender texture and buttery garlic finish. They’re simple to make with basic pantry ingredients, and once you get the dough mixed together, most of the time is hands-off while it rises.
They’re especially good alongside a big pot of soup, pasta, or a Sunday supper. And honestly, you don’t need much of a reason to make a batch. A basket of warm homemade breadsticks has a way of making an ordinary meal feel a little more special.
Why You’ll Love These Olive Garden Copycat Breadsticks
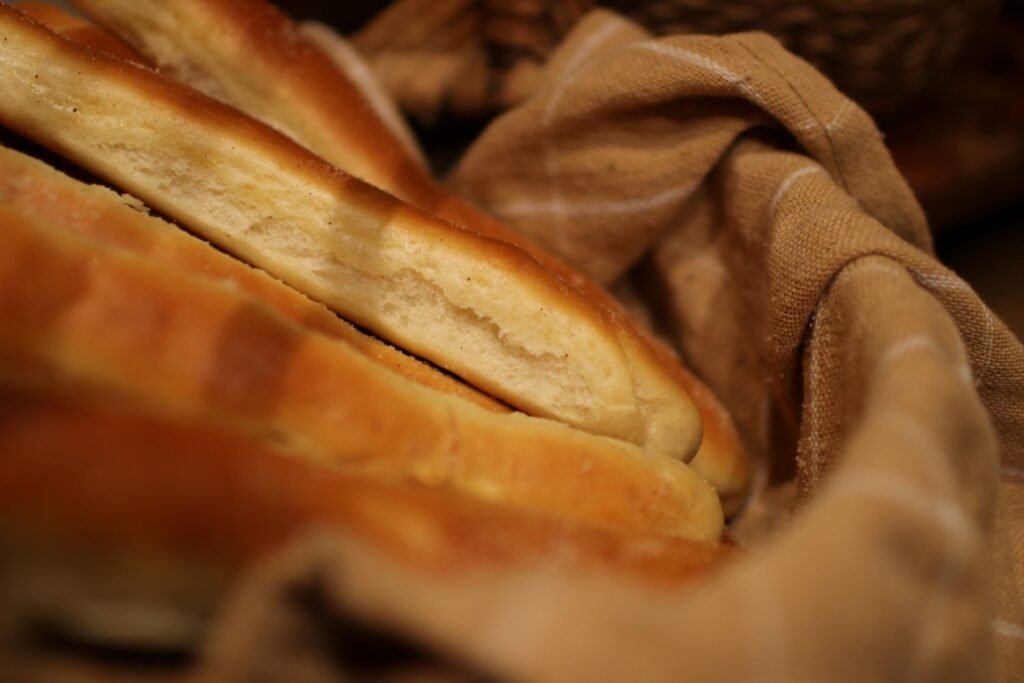
These breadsticks are soft and fluffy on the inside with a lightly golden top and a buttery garlic finish. They’re made with simple ingredients and don’t require any complicated shaping or equipment.
The dough is easy to work with, and making twelve breadsticks gives you plenty to serve alongside dinner. They’re also a great recipe to keep on hand when you’re making soup or pasta and want something homemade to go with it.
Ingredients Needed
Warm water
Melted butter
Active dry yeast
Sugar
Salt
All-purpose flour
Baking powder
Butter, for brushing
Garlic salt, for topping
Equipment Needed
Large mixing bowl
Stand mixer or wooden spoon
Parchment paper
Baking sheet
Pastry brush
Instructions
Step 1: Activate the Yeast
Add the warm water, melted butter, active dry yeast, and sugar to a large mixing bowl. Stir to combine and let the mixture sit for about 5 minutes, until the yeast has activated.
Step 2: Make the Dough
Add the salt, baking powder, and 3 cups of flour. Mix until a dough begins to form.
Add additional flour only as needed until you have a workable dough that is soft and manageable without being overly sticky.
Step 3: Knead the Dough
Knead the dough for 8–10 minutes, either by hand or with a dough hook, until it becomes smooth and elastic.
Step 4: Let the Dough Rise
Place the dough in a greased bowl and cover. Let it rise in a warm place for about 1 hour, or until doubled in size.
Step 5: Shape the Breadsticks
Punch down the risen dough and divide it into 12 equal pieces.
Roll each piece into an approximately 8-inch-long log. Place the breadsticks on a parchment-lined baking sheet.
Step 6: Let Them Rise Again
Cover the shaped breadsticks and let them rise for another hour, or until doubled in size.
Step 7: Bake the Breadsticks
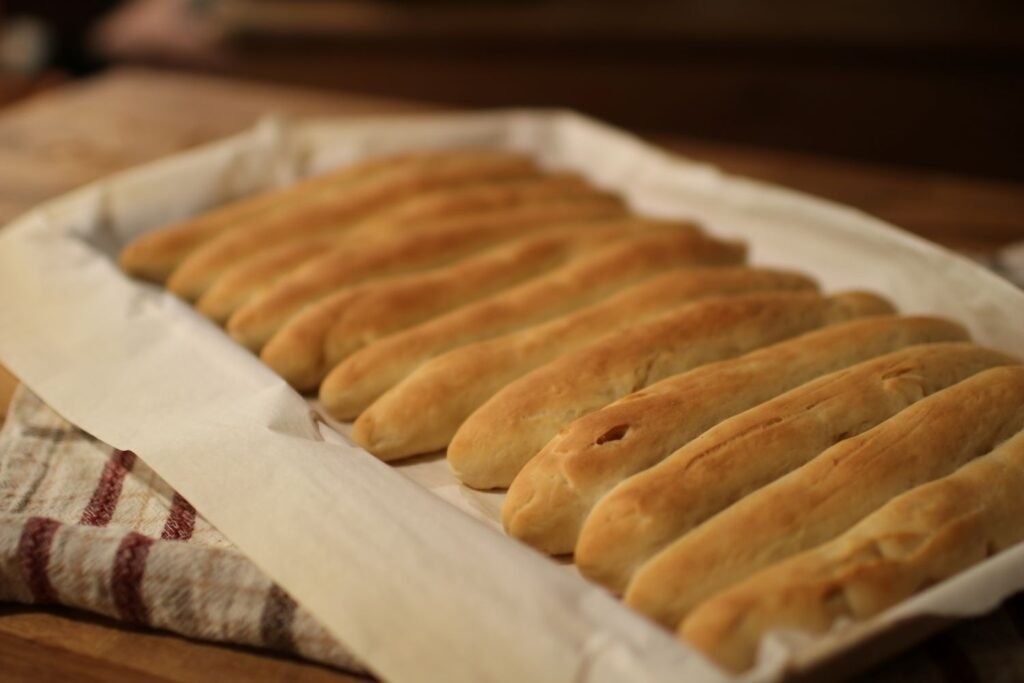
Preheat the oven to 400°F. Bake the breadsticks for 12–15 minutes, or until the tops are lightly golden brown.
Step 8: Add the Garlic Butter
As soon as the breadsticks come out of the oven, brush them generously with melted butter and sprinkle with garlic salt.
Serve warm.
Tips & Tricks
Start with 3 cups of flour and only add more if the dough needs it.
The dough should be soft and workable rather than stiff or dry.
Give the dough enough time to double during both rises. This helps create soft, fluffy breadsticks.
For evenly sized breadsticks, divide the dough into equal portions before shaping.
Brush the breadsticks with butter while they’re still hot so it soaks into the surface.
Variations
Add a little dried parsley to the garlic salt for extra flavor.
Use salted butter for the finishing butter if you like a slightly more savory breadstick.
For a cheesier version, sprinkle freshly grated Parmesan over the buttered breadsticks while they’re still warm.
Storage & Leftovers
Store leftover breadsticks in an airtight container at room temperature for up to 2 days.
Reheat in a 300°F oven for a few minutes until warmed through.
Breadsticks can also be frozen once completely cooled. Wrap them well and freeze for up to 3 months.
Homemade breadsticks are one of those little things that can make a simple supper feel more complete. Whether you’re serving them alongside a pot of soup, a pan of pasta, or just setting them on the table for everyone to pull apart, they’re always welcome.
And when they’re warm from the oven with butter and garlic salt on top, it’s hard to beat the simple pleasure of bread made at home.
Watch me make this recipe here:
The Best Breadsticks (Olive Garden Copycat)
These soft and fluffy Olive Garden copycat breadsticks are easy to make from scratch and finished with melted butter and garlic salt while they’re still warm.
- Prep Time: 20 minutes
- Rise Time: 2 hours
- Cook Time: 15 minutes
- Total Time: 2 hours and 35 minutes
- Yield: 12 1x
Ingredients
1 cup warm water
3 tablespoons melted butter
1 1/2 teaspoons active dry yeast
2 tablespoons sugar
2 teaspoons salt
3–3 1/2 cups all-purpose flour
3/4 teaspoon baking powder
Butter, for brushing
Garlic salt, for topping
Instructions
Step 1: Activate the Yeast
Combine the warm water, melted butter, active dry yeast, and sugar. Let sit for 5 minutes to activate the yeast.
Step 2: Make the Dough
Add the salt, baking powder, and 3 cups of flour. Mix until a dough forms, adding additional flour only as needed to make a workable dough.
Step 3: Knead the Dough
Knead for 8–10 minutes until the dough is smooth and elastic.
Step 4: Let the Dough Rise
Place the dough in a greased bowl, cover, and let rise for about 1 hour, or until doubled.
Step 5: Shape the Breadsticks
Punch down the dough and divide it into 12 pieces. Roll each piece into an 8-inch-long log and place on a parchment-lined baking sheet.
Step 6: Rise Again
Cover and let the breadsticks rise for another hour, or until doubled.
Step 7: Bake
Bake at 400°F for 12–15 minutes, or until golden brown on top.
Step 8: Finish With Butter and Garlic Salt
As soon as the breadsticks come out of the oven, brush with butter and sprinkle with garlic salt.
2 Responses
I’m making the breadsticks today. I’ll let you know how they came out.
I saw your video with these for the first time yesterday, and I had to make them today! I doubled the recipe like you did, and they are amazing! A huge hit! And so easy!