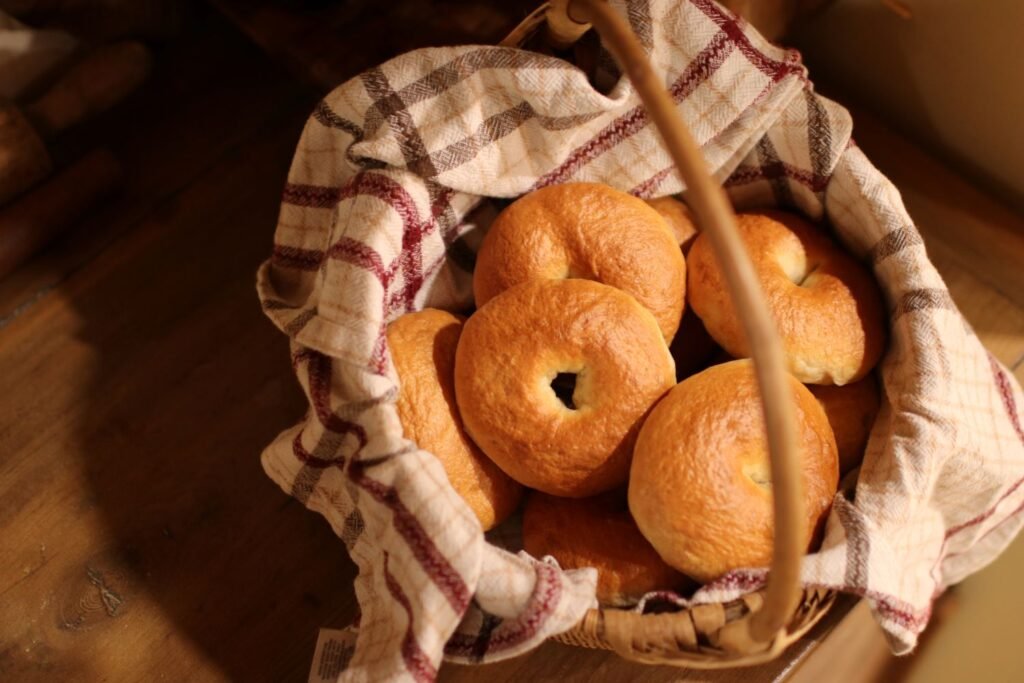
There is something special about setting a basket of homemade bagels on the table and knowing you made them yourself. What started as a few simple ingredients has turned into something the whole family can gather around and enjoy.
Making more of our everyday staples at home has become one of my favorite parts of homemaking. It’s not only about saving money or knowing exactly what goes into our food, although those things matter too. There’s a certain satisfaction in making something from scratch and being able to serve your family food that is fresh, wholesome, and made with care.
These homemade bagels have that classic chewy outside and soft, tender center, and you can finish them with whatever toppings your family loves. Serve them warm with butter or cream cheese, make breakfast sandwiches, or set out a variety of toppings and let everyone make their own.
For me, recipes like this are less about making everything from scratch just for the sake of it. They’re about slowing down enough to make something good, gathering around the table, and finding a little more joy in the ordinary things we do to care for our families.
Why You’ll Love These Soft and Chewy Homemade Bagels
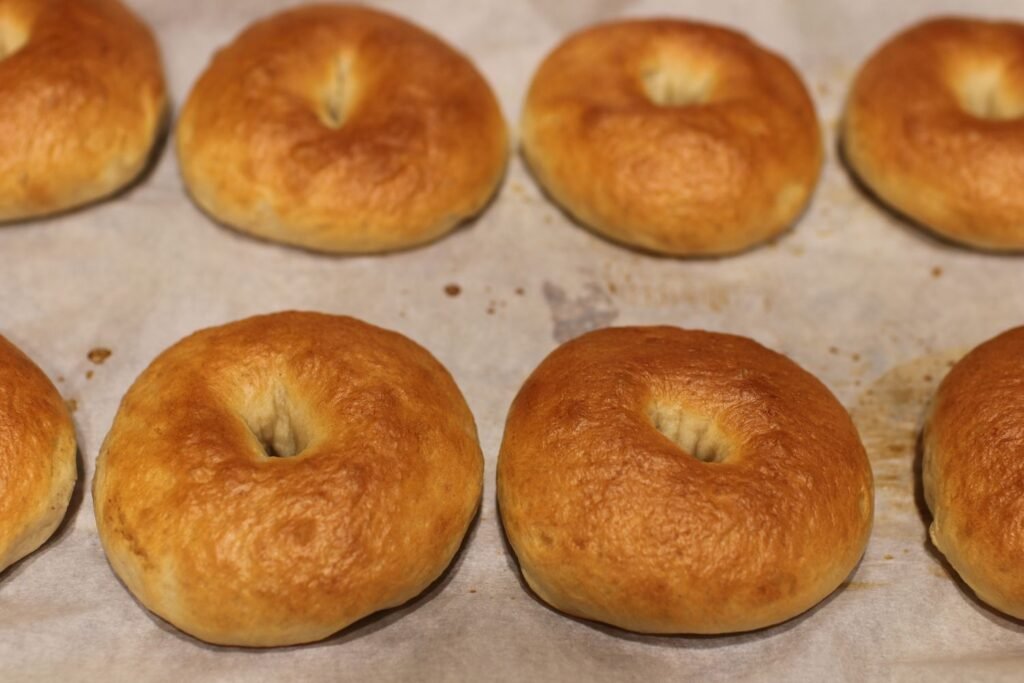
These bagels are soft and chewy with a beautifully golden outside, and you can adjust the texture depending on how long you boil them. One minute per side gives you a softer bagel, while two minutes per side gives you a chewier New York-style skin.
The dough is also very forgiving. Once you get the hang of creating tension in the dough and shaping the rounds, making a batch of bagels becomes a simple kitchen routine. You can top them however you like, too, so everyone can have their favorite.
Ingredients Needed
Active dry yeast
Granulated sugar
Warm water
All-purpose flour
Salt
Honey
Egg wash or toppings of choice
Equipment Needed
Large mixing bowl
Stand mixer with dough hook, optional
Large pot
Parchment-lined baking sheet
Wire cooling rack
Instructions
Step 1: Activate the Yeast
Combine the warm water, sugar, and active dry yeast. Stir and let the mixture sit for about 5 minutes, until the yeast has activated.
Step 2: Make the Dough
Add the salt and 3½ cups of flour. Mix until a dough begins to form, adding the remaining flour only as needed.
You want a soft, smooth dough that isn’t overly sticky.
Step 3: Knead the Dough
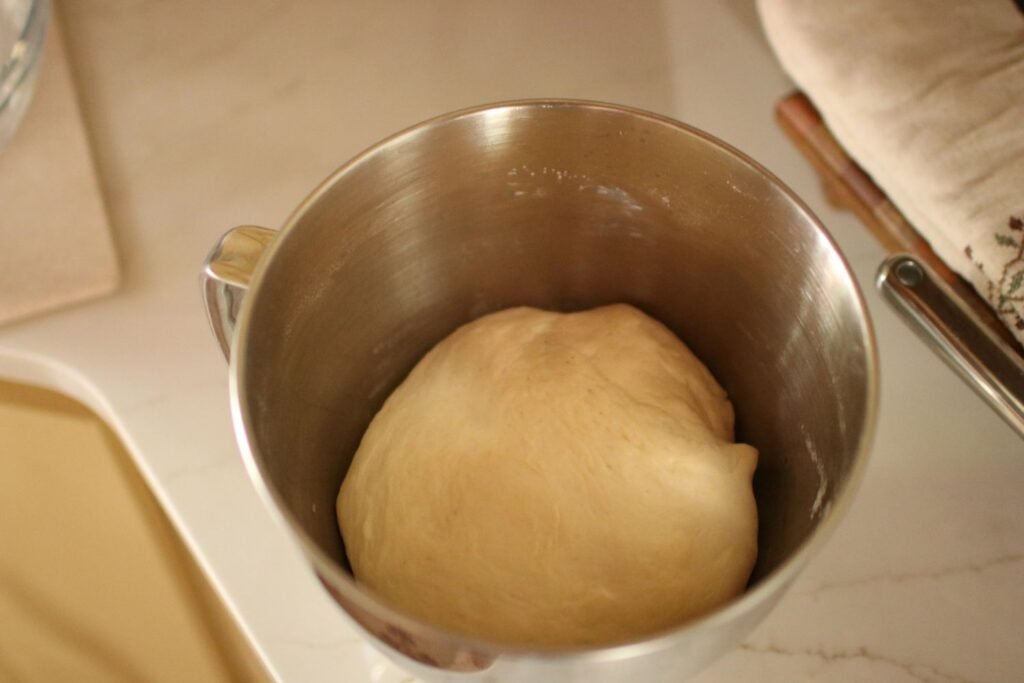
Knead the dough by hand or with a stand mixer fitted with a dough hook for 5–8 minutes, until it is soft, smooth, and elastic.
Step 4: Let the Dough Rise
Place the dough in a lightly greased bowl and cover. Let it rise for about 1 hour, or until doubled in size.
Step 5: Rest the Dough
Punch down the risen dough and cover it with a towel. Let it rest for 10 minutes.
Step 6: Shape the Bagels
Divide the dough into 8 equal portions.
Working with one piece at a time, place the dough on your work surface and pull the dough along the surface as you move it in circular motions. This creates tension and helps form a smooth, taut ball that holds its shape.
Lightly flour your finger and poke a hole through the center of the ball. Gently stretch the hole wider to create the bagel shape.
You can watch me do these steps in the video linked below!
Repeat with the remaining pieces of dough, then cover the shaped bagels while you prepare the water.

Step 7: Prepare the Water
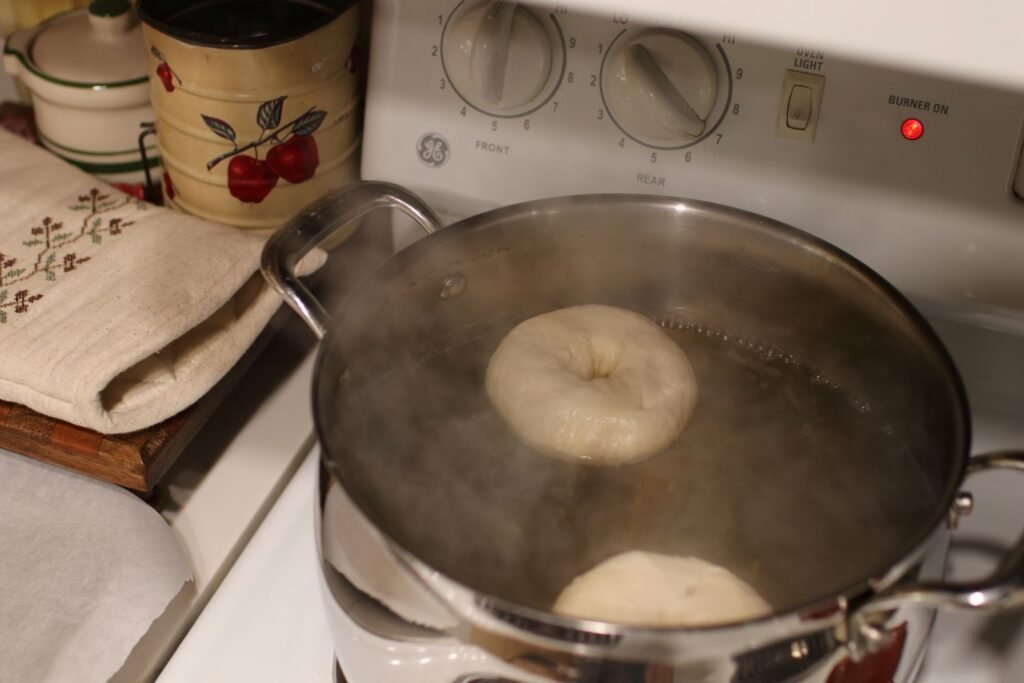
Fill a large pot about two-thirds full with water. Add approximately ¼ cup of honey and bring the water to a low boil.
Step 8: Boil the Bagels
Carefully add the bagels to the pot, working in batches so they aren’t overcrowded.
Boil for 1 minute per side. For a chewier New York-style skin, boil for 2 minutes per side.
Step 9: Add the Toppings
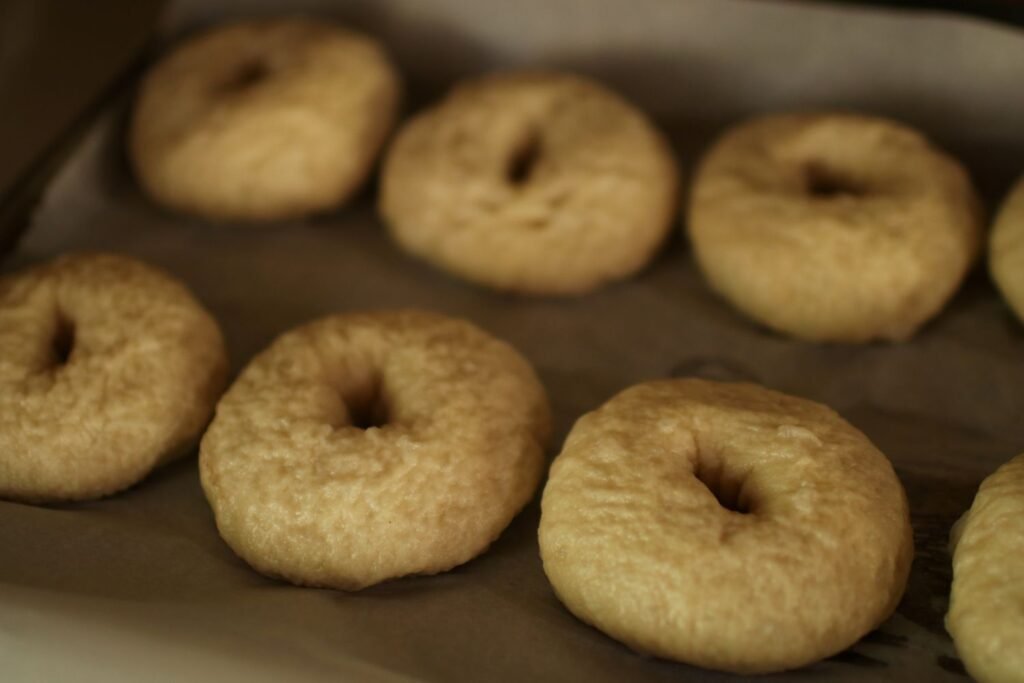
Remove the boiled bagels and place them on a parchment-lined baking sheet.
While they are still wet, add your toppings of choice. Alternatively, brush them with an egg wash before adding toppings.
Step 10: Bake the Bagels
Bake at 425°F for 20–25 minutes, or until the bagels are nicely golden brown on top.
Step 11: Cool and Serve
Transfer the bagels to a wire rack and allow them to cool before serving.
Enjoy warm with your favorite toppings.
Tips & Tricks
Start with the smaller amount of flour and add more only as needed. The dough should be soft and elastic rather than stiff.
Creating tension when shaping the dough helps the bagels hold their round shape while they rise and bake.
Make sure the center hole is fairly wide because it will shrink as the bagel cooks.
Don’t overcrowd the pot when boiling the bagels. Give them enough room to move around freely.
Boil for 1 minute per side for a softer texture or 2 minutes per side for a chewier skin.
Add toppings while the bagels are still wet so they have something to stick to.
Variations
Change up the toppings or fillings to make these bagels your own. Try everything seasoning for a savory option, cinnamon and raisins for something sweeter, or add cheddar and jalapeño for a little extra flavor.
You can also make smaller bagels for kids or use the plain bagels as the perfect base for breakfast sandwiches.
Storage & Leftovers
Store cooled bagels in an airtight container or bag at room temperature for up to 2–3 days.
For longer storage, slice the bagels and freeze them in an airtight freezer bag.
Toast frozen bagel halves directly from the freezer when you’re ready to enjoy them.
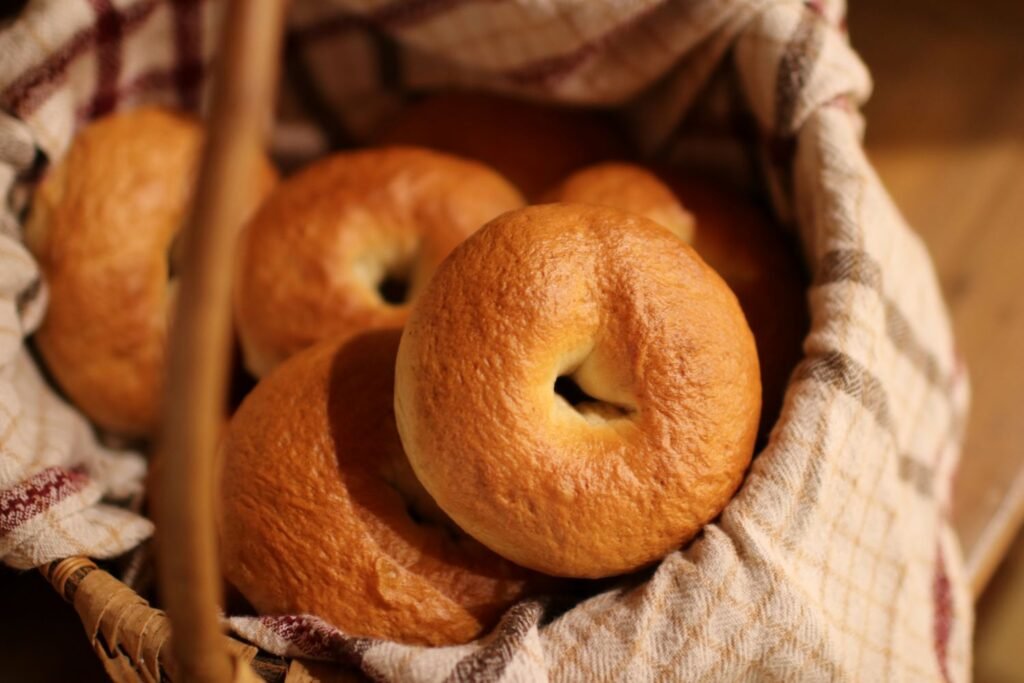
Homemade bagels are one of those recipes that make a weekend breakfast feel a little more special. Once you get the rhythm of making them, it’s nice to know you can make a fresh batch for your family whenever you want. Serve them warm, let everyone choose their favorite toppings, and enjoy them while they’re still fresh from the oven.
Watch me make this recipe here:
Soft & Chewy Homemade Bagels

These soft and chewy homemade bagels are golden on the outside, tender inside, and easy to customize with your favorite toppings. Boiling them before baking gives them their classic bagel texture.
- Prep Time: 25 minutes
- Rise Time: 1 hour and 10 minutes
- Cook Time: 20-25 minutes
- Total Time: About 2 hours
- Yield: 8 Bagels 1x
Ingredients
- 2 1/4 teaspoons active dry yeast
- 1 1/2 tablespoons granulated sugar
- 1 1/4 cups warm water
- 3 1/2–4 cups all-purpose flour
- 1 1/2 teaspoons salt
- 1/4 cup honey, for boiling water
- Egg wash or toppings of choice
Instructions
Step 1: Activate the Yeast
Combine the warm water, sugar, and active dry yeast. Let sit for 5 minutes to activate the yeast.
Step 2: Make the Dough
Add the salt and 3½ cups of flour. Mix, adding additional flour only as needed until you have a soft, workable dough that isn’t too sticky.
Step 3: Knead the Dough
Knead by hand or with a dough hook for 5–8 minutes, until soft, smooth, and elastic.
Step 4: Let the Dough Rise
Place the dough in a lightly greased bowl, cover, and allow it to rise for about 1 hour, or until doubled in size.
Step 5: Rest the Dough
Punch down the dough, cover with a towel, and let rest for 10 minutes.
Step 6: Shape the Bagels
Divide the dough into 8 equal portions. Shape each piece into a taut round ball by pulling the dough along your work surface in circular motions.
Flour your finger lightly, poke a hole through the center, and gently stretch the hole wider. Repeat with the remaining dough and cover while preparing the water.
Step 7: Boil the Bagels
Fill a large pot two-thirds full with water and add approximately ¼ cup honey. Bring to a low boil.
Boil the bagels in batches for 1 minute per side. For a chewier New York-style skin, boil for 2 minutes per side.
Step 8: Add Toppings
Transfer the boiled bagels to a parchment-lined baking sheet. Add toppings while they are still wet, or brush with an egg wash before topping.
Step 9: Bake
Bake at 425°F for 20–25 minutes, or until nicely golden brown.
Step 10: Cool
Transfer to a wire rack and allow to cool before serving.