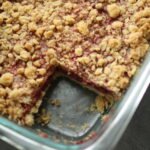
This is a straightforward, dependable recipe that doesn’t require much effort or planning. A simple crust, a layer of jam or fruit, and a crumb topping all baked together into an easy bar that slices cleanly and keeps well.
Why You’ll Love This Recipe
This is one of those recipes that’s easy to reach for when you want something homemade without overthinking it. The base and topping come from the same simple mixture, the filling can be whatever jam or fruit you have on hand, and the bars bake up sturdy enough to slice and store without any trouble.
Ingredients Needed
- Flour
- Rolled oats
- Brown sugar
- Cane sugar
- Baking powder
- Salt
- Butter
- Jam or fresh/frozen fruit
- Vanilla
Equipment Needed
- Large mixing bowl
- Measuring cups and spoons
- Spoon or spatula
- 9×9 baking dish (or similar)
- Parchment paper or cooking spray
Instructions
Preheat the oven to 375°F. Line or grease a 9×9 baking dish and set aside.
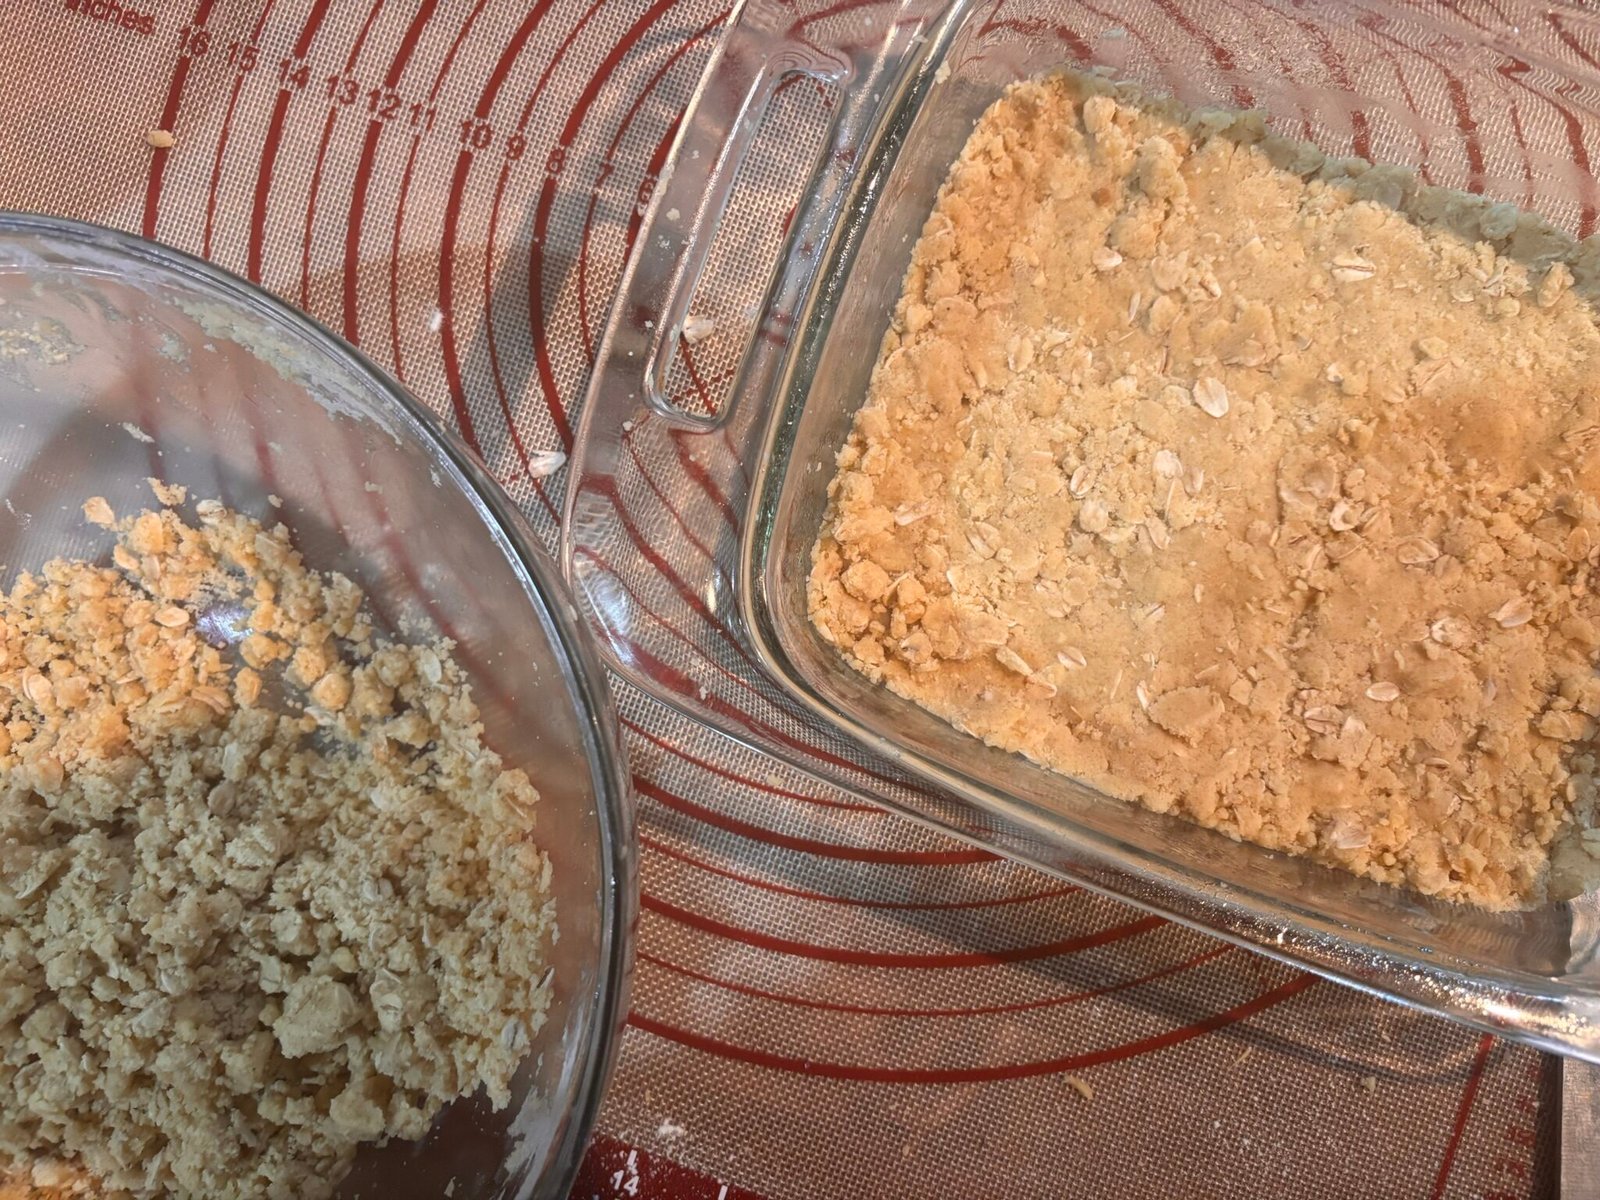
In a large bowl, combine the flour, oats, brown sugar, cane sugar, baking powder, and salt. Pour in the melted butter and stir until the mixture is evenly combined and crumbly.
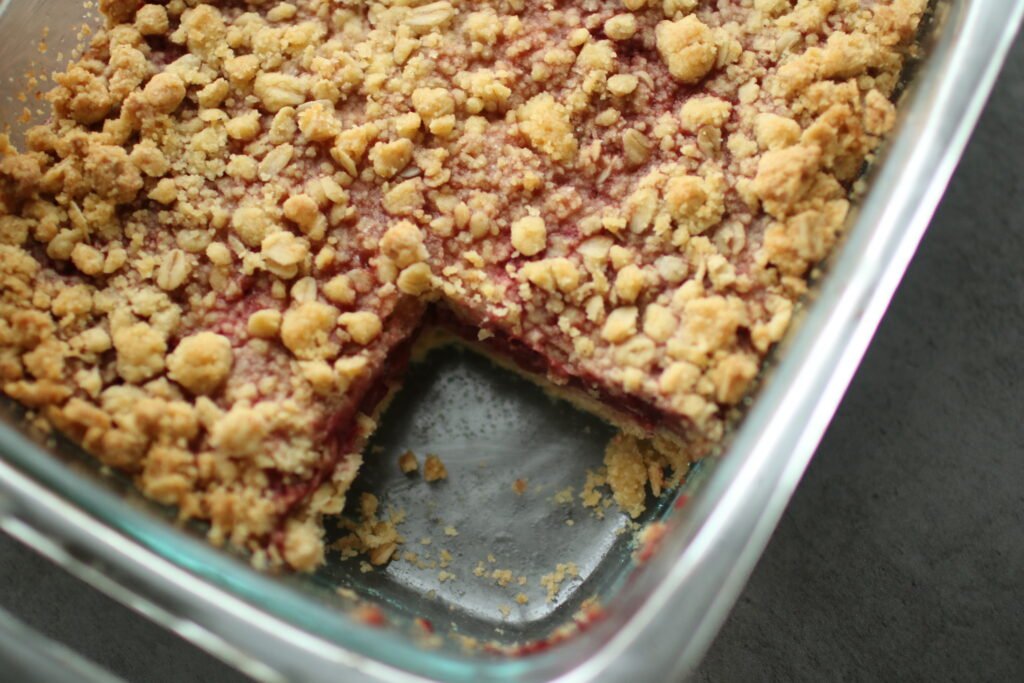
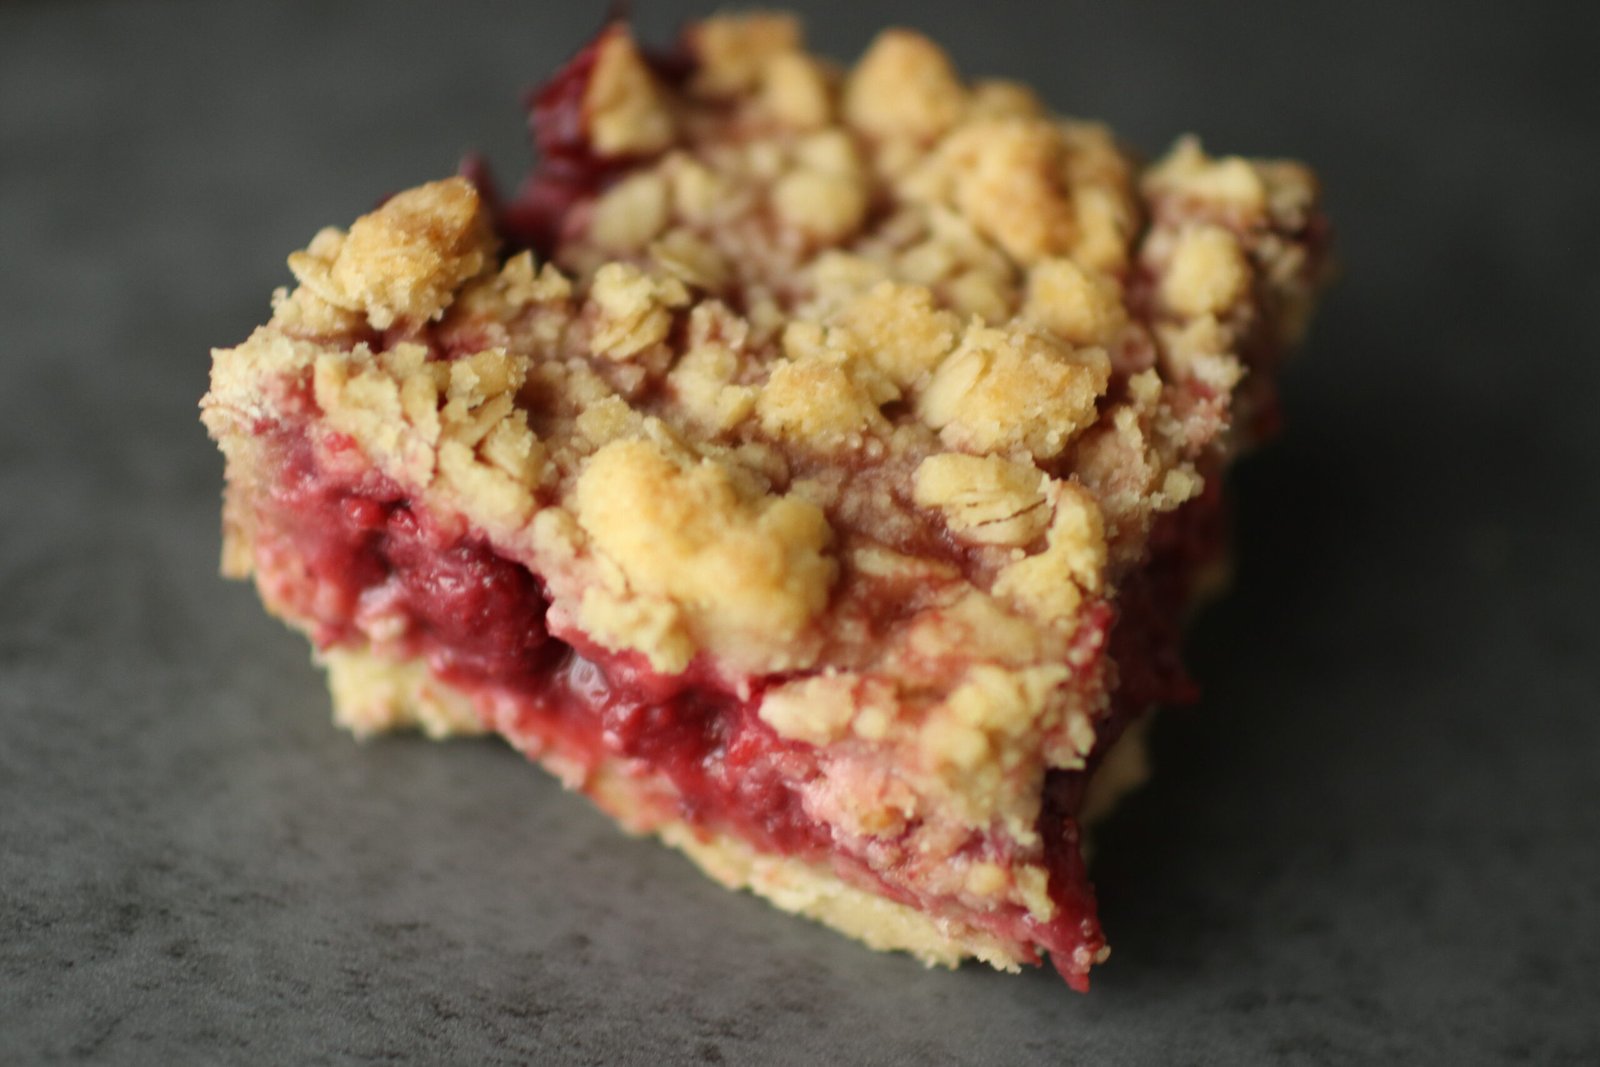
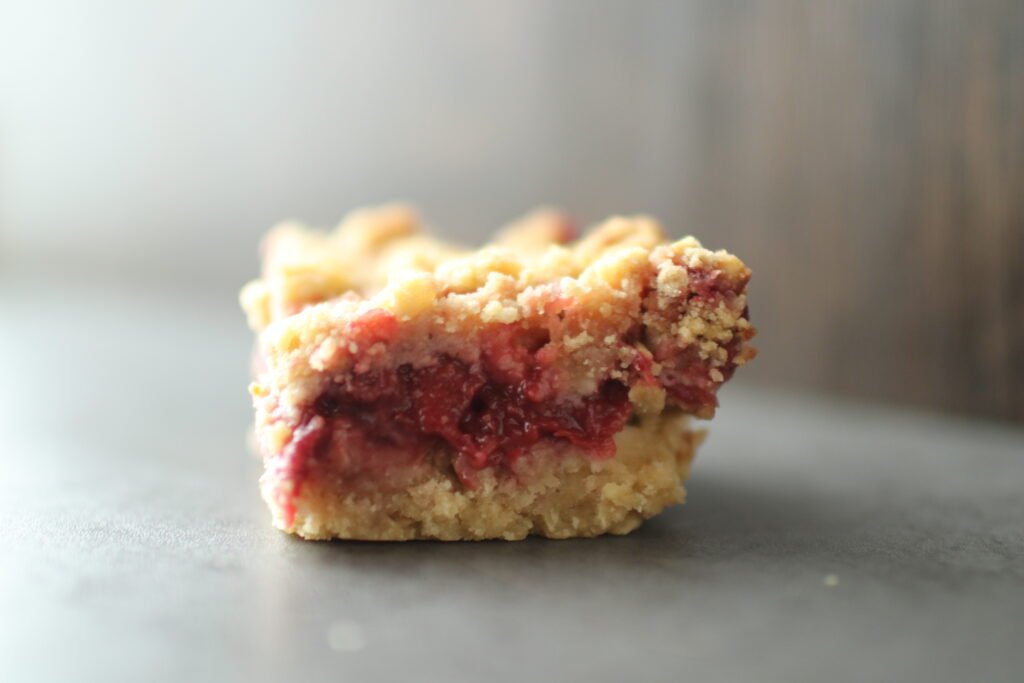
Press about two-thirds of the mixture firmly into the bottom of the prepared pan.
If using jam, spread it evenly over the base. If using fruit, mix the fruit with brown sugar, flour, salt, and vanilla, then spread evenly over the crust.
Sprinkle the remaining crumb mixture evenly over the filling.
Bake for about 50 minutes, until the top is lightly golden and the filling is set.
Allow the bars to cool completely before cutting into 9 squares. This helps them hold together and slice cleanly.
Tips & Tricks
Letting the bars cool fully is key — they’ll firm up as they set. Almost any jam works here, from raspberry to apricot to strawberry. If using frozen fruit, no need to thaw first; just mix and bake. These bars can be baked thicker or thinner depending on the pan you use. Just make sure not to make the bottom crust too thin so it holds the weight of the jam or fruit without breaking upon slicing.
Storage & Leftovers
Store jam bars in an airtight container at room temperature for up to 3 days or in the refrigerator for up to 5 days. These bars freeze well — slice, wrap individually, and freeze for up to 3 months. Thaw at room temperature before serving.
These jam bars are a good example of how simple ingredients can turn into something really useful. They’re easy to make, easy to adapt, and the kind of bake that fits naturally into everyday life.
Watch me make this recipe here:
Simple Jam Bars
Simple jam bars made with pantry staples and a buttery oat crumble. Easy to customize, freezer-friendly, and perfect for baking ahead.
- Prep Time: 10 minutes
- Cook Time: 50 minutes
- Total Time: 1 hour
- Yield: 9 bars 1x
Ingredients
Crust & Topping
-
2 1/4 cups all-purpose flour
-
1 cup rolled oats
-
1/2 cup brown sugar
-
1/2 cup cane sugar
-
1 1/2 teaspoons baking powder
-
1/2 teaspoon salt
-
14 tablespoons butter, melted
Filling (Choose One)
-
Jam of choice
or -
2 cups fruit
-
1/3 cup brown sugar
-
3 tablespoons flour
-
Pinch of salt
-
Splash of vanilla
Instructions
-
Preheat the oven to 375°F. Line or grease a baking dish and set aside.
-
In a large bowl, combine the flour, oats, brown sugar, cane sugar, baking powder, and salt. Pour in the melted butter and stir until the mixture is evenly combined and crumbly.
-
Press about two-thirds of the mixture firmly into the bottom of the prepared pan.
-
If using jam, spread it evenly over the base. If using fruit, mix the fruit with brown sugar, flour, salt, and vanilla, then spread evenly over the crust.
-
Sprinkle the remaining crumb mixture evenly over the filling.
-
Bake for about 50 minutes, until the top is lightly golden and the filling is set.
-
Allow the bars to cool completely before cutting. This helps them hold together and slice cleanly.